It does not appear in Grigory Levenfish, and Vasily Smyslov, Rook Endings (1971 [1957]); in Nikolay Minev, A Practical Guide to Rook Endgames (2004); nor in John Nunn, Nunn's Chess Endings, vol. 2 (2010). I also checked endgame books by Yuri Averbakh, Mark Dvoretsky, Reuben Fine, Mikhail Shereshevsky, and Jeremy Silman. In addition, I checked Smyslov, Vasily Smyslov: Endgame Virtuoso (1997); and Karsten Mueller, and Frank Lamprecht, Fundamental Chess Endings (2001). The last of these had the nearest equivalent, a version of the Kan ending below, but with more work to be done by the stronger side as the pawn behind the rook has not yet moved. That position is from Ivanchuk -- Yusupov, Horgen 1995 (Mueller, and Lamprecht, 198). The solution, however, is completely different due to the exigencies of the position.
The position in Chess Mentor purportedly comes from a game Smyslov lost to Mikhail Botvinnik in their 1954 World Championship match. The first match game, Smyslov -- Botvinnik, Moscow 1954 reached this position after 52...Ra3.
White to move

Smyslov played 53.Kh3 and resigned five moves later.
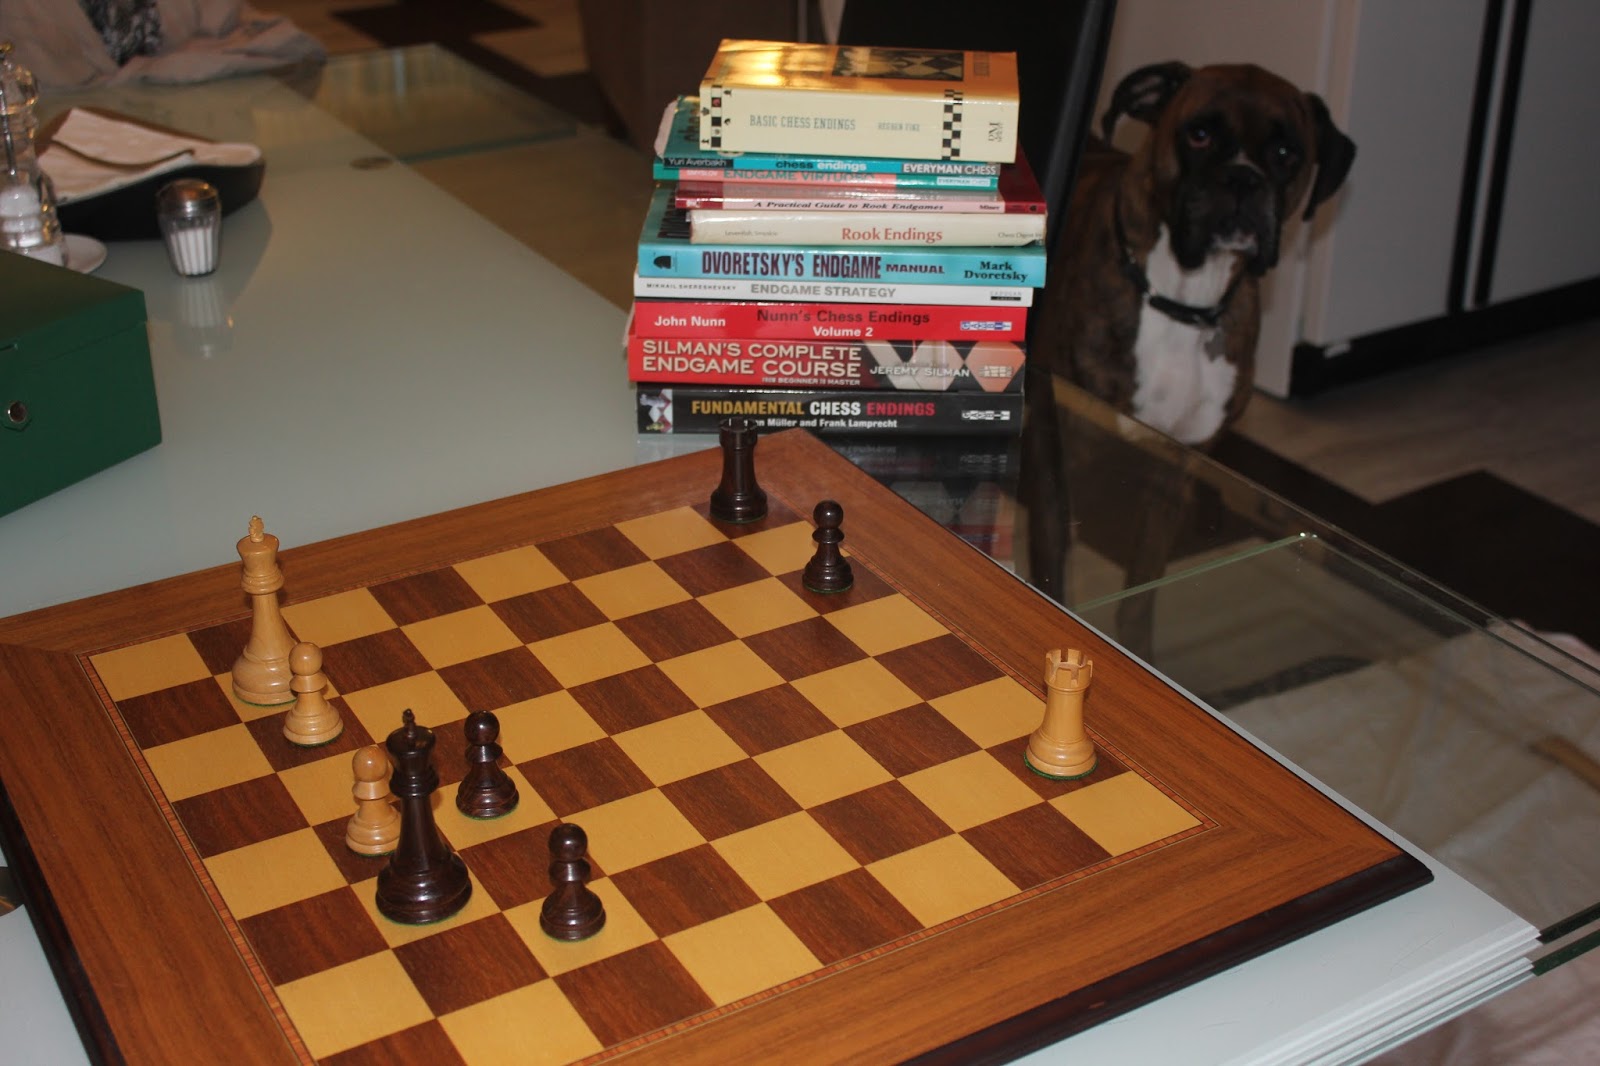
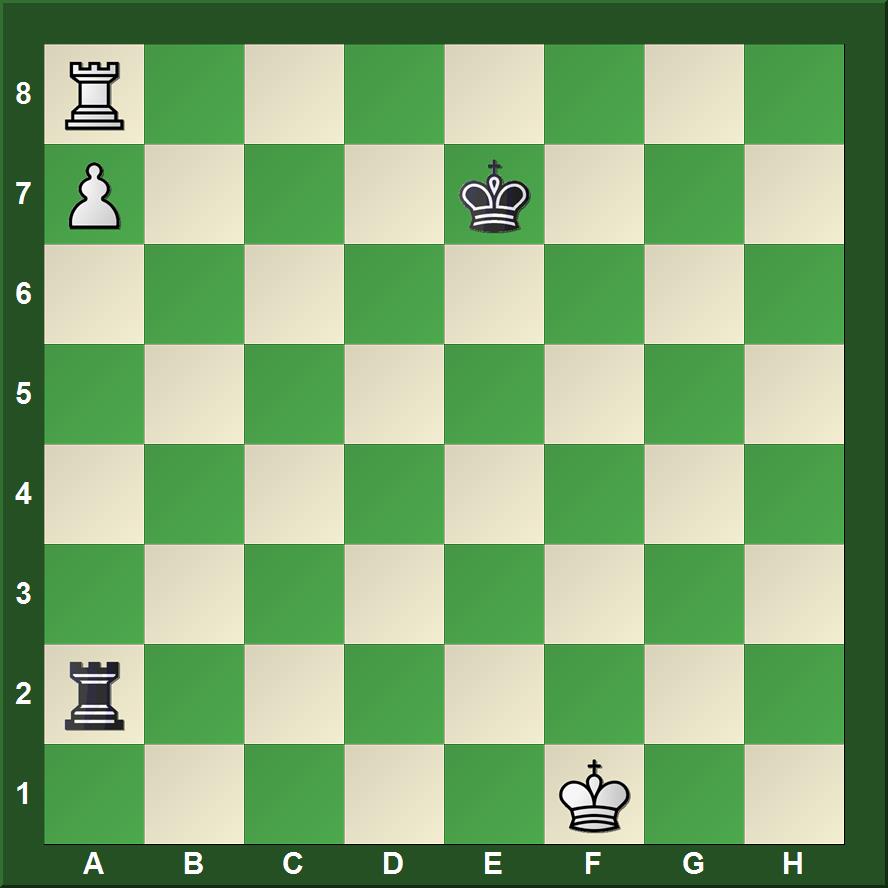
Had play continued instead 53.Kf2 a4 54.Kg2 Ra1 55.Ra5 a3 56.Ra7, the game would have reached the position that I found in Chess Mentor. This lesson appears in "Rook and Other Endgames", a course created by Jeremy Silman. From the position in the photograph above, the student is presented with these directions.
This endgame would be confusing to most players, however a good understanding of Variations One and Two immediately tells you the dream positions that you would like to achieve. This shows that a working knowledge of basic situations allows you to easily solve otherwise difficult problems. In the position in question, Black must decide when to take on g5 and when to push his a-pawn to a2.Silman's assertion that Botvinnik played this ending is thus somewhat misleading. That it did not occur in an actual game also serves to explain its absence from textbooks.
Silman, "Rook and Other Endgames," Chess Mentor, Chess.com
Some of the pitfalls that White must avoid are easily found in books. For example, after many moves, Black might threaten a skewer. Minev, A Practical Guide to Rook Endgames presents this position almost at the very beginning of the book (12).
White to move
In my database, I found another game played in the Soviet Union a few years before Smyslov -- Botvinnik that reached a final position where White could no longer avoid this skewer.
White to move
 |
| After 65...f4 |
I did not initially see a final position like that in Kan's game from the position in Chess Mentor, but nonetheless understood that advancing the a-pawn first created such threats.
 |
| Chess Mentor Screenshot |
Stripes,J -- Stockfish
30.01.2017
1.h7 Rh3+ (in Silman's lesson, White shuffled the king between a7 and b7) 2.Kxb4 Rh4 3.Kc3 Rh1 4.Kd3 Rh2 5.c5! bxc5 6.c4
Black to move

This position is "a well known theoretical win," according to Silman. Naturally, I thought it must be in some of my endgame books. In my battle with Stockfish, I tried getting my king to b5, which was possible. However, Black simply sticks the rook on h5 and shuffles the king between a7 and b7. I discovered that I needed to walk the other way.
In my second game against Stockfish, I set up the position with the colors as they are in the lesson.
Stockfish -- Stripes.J
30.01.2017
1...a2 2.Ra6+ Kxg5 3.Ra5 Kf6 4.Ra3 Ke6 5.Ra5 Kd6
This time I headed in the right direction even prior to advancing my f-pawn, a slight inaccuracy it would seem from Silman's lesson, but one that did not matter against Stockfish.
6.Ra8 f4 7.gxf4 f5 8.Ra5 Kc6 9.Ra8 Kb5 10.Ra3
Black to move

10...Kc4 11.Kh2 Kd4 12.Kg2 Ke4 13.Ra5
I unnecessarily expended time worrying about 13.Ra4+, thinking the rook could stay there. But, then I realized that White cannot plant the rook and shuffle the king because I can play Kf3 either forcing the rook to abandon protection of the pawn or walking into checkmate with Ka3.
13...Kxf4 14.Ra8 Ke5 15.Re8+ Kd6 16.Rd8+ Ke7 17.Rd2 f4 18.Rf2
Black to move

18...Rg1+ 19.Kxg1 a1Q+ 20.Kg2 Qc1 21.Ra2 Qe3 22.Rf2 Kf6 23.Rf3 Qe4 24.Kf2 Kf5 25.Rh3
Black to move

At this point matters are quite simple. The exercise is over. However, Stockfish is not set to resign, so I play until checkmate or abandon the game. The rest of the game required only a few seconds.
25...Kg4 26.Rh8 Qd4+ 27.Ke1 Qxh8 28.Kd2 f3 29.Kc2 f2 30.Kb1 f1Q+ 31.Kc2 Qd4 32.Kb3 Qb1+ 33.Ka3 Qdb4# 0–1
Some Thoughts on Chess Mentor
Chess Mentor was developed several years ago as stand alone software. It remains available as such through their website. In addition, at some point several years ago, the owners of Chess.com purchased the rights to this product. The entire package is embedded within Chess.com's "Chess Lessons" (version three), where it was called "Chess Mentor" under versions one and two. It is available to premium members.
Embedding stand alone software into a web-based format was not accomplished seamlessly. Comments such as Silman's reference to "Variation Five" do not reference anything that can be found under that name in the web version. Sometimes, as in this particular exercise, the carefully crafted teaching modules of Chess Mentor break down.
The original Chess Mentor also offers a "hint" feature, but Chess.com's site design does not implement this feature.
In general, the lessons in Chess Mentor are well designed. I am finding it useful to go through elementary level lessons in search of ideas to use in my teaching, and more challenging lessons as an aid to my own improvement. The lack of an embedded hint feature often leads to blind trial and error until I stumble across the correct move. That groping in the dark can provoke frustration.
Chess.com also gives users a "Lessons" rating. One would not expect to gain rating points from a lesson rated far below one's current rating. However, I have made every correct move in dozens of easy lessons only to discover that I scored 94% and suffered a rating loss of 10 points. I care little enough for the rating, but the logic of 94% for a string of correct moves mystifies me.
It seems to me that Chess.com could invest some of the money it collects from premium users to hire people who can edit the comments to remove references that lead no where and to debug the rating and evaluation system. On the other hand, maybe the technical difficulties of such a task are overwhelming.
The "Lessons" on Chess.com are useful with a few caveats.


No comments:
Post a Comment